导读 科技本身,支配宇宙的自然规律是充满魅力的!因此越来越多的人开始关注科技的相关动态,近来设置起始页码为III怎么设置的消息也是引起了很
科技本身,支配宇宙的自然规律是充满魅力的!因此越来越多的人开始关注科技的相关动态,近来设置起始页码为III怎么设置的消息也是引起了很多人的关注,那么既然现在大家都想要知道设置起始页码为III怎么设置,小编今天就来给大家针对设置起始页码为III怎么设置这样的问题做个科普介绍吧。

该教程适用
产品型号:联想AIO520C
系统版本:Windows10 专业版
软件版本:WPS Office 2020
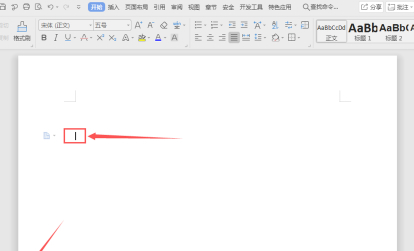
1.打开需要设置显示页码的文档,将光标定位到第三页任意位置。
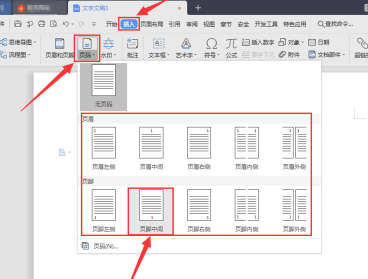
2.菜单栏点击插入,点击页码,选择页脚中的页脚中间为例。
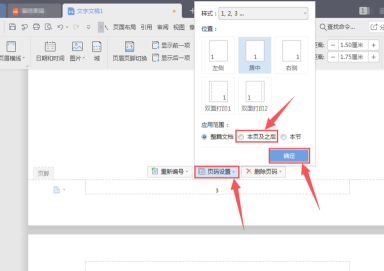
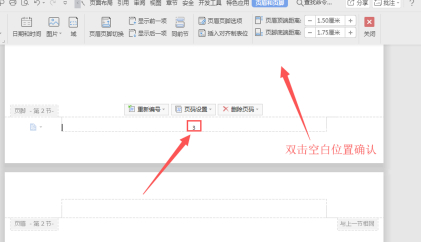
3.自动显示页码后当前页码为数字3,点击页码设置选择本页及之后,点击确定,此设置将第三页页码数字3变为数字1。
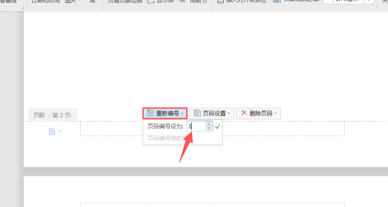
4.假如第一页和第二页为封面和目录,并从第三页开始显示页码,需要第三页显示页码为数字3,点击重新编号,输入数字3并回车。
5.完成第三页显示页码数字3的设置后,双击当前页空白位置确认即可。
工具:
型号:联想AIO520C
系统:Windows10 专业版
软件:WPS Office 2020
功能和快捷键:操作步骤/方法 方法1 1 1.打开需要设置显示页码的文档,将光标定位到第三页任意位置。